This article will walk you through the entire process of configuring the SFTP adapter in SAP CPI. In this blog, we will go over Sender and Receiver SFTP configuration in SAP CPI.
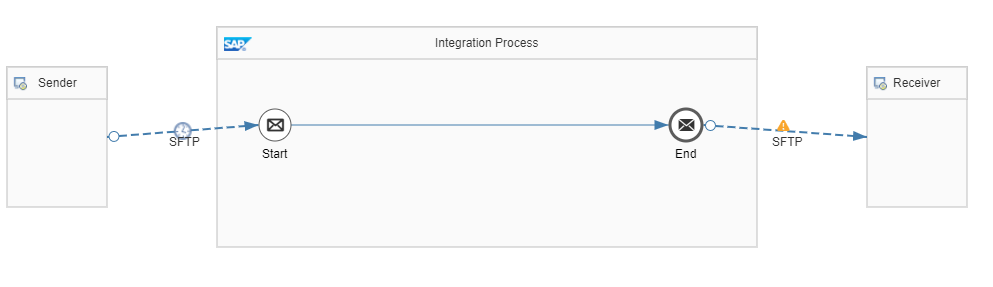
Let us illustrate this with a simple scenario:
Pick the file from SFTP and place it in the SFTP folder.
For more detailed information about sftp communication in CPI refer to SAP Documentation chapter ‘How sftp works’.
Sender Communication Channel
SFTP Authentication option for the connection to the SFTP server.
You can choose from the following options:
- Public Key
- User Name/Password
- Dual
In this blog, we will use User Name/Password.
Setup SFTP credential
Monitoring —>Manage Security —> Security Material —> Add —> User credentials
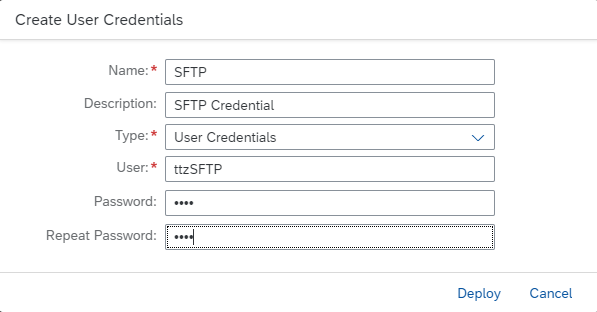
Fill in all the parameters and deploy.
SFTP Connection test :
It is a useful feature for testing SFTP server connectivity prior to channel configuration.
Monitoring —> Manage Security —> Connectivity Tests, Select SSH for SFTP server connection.
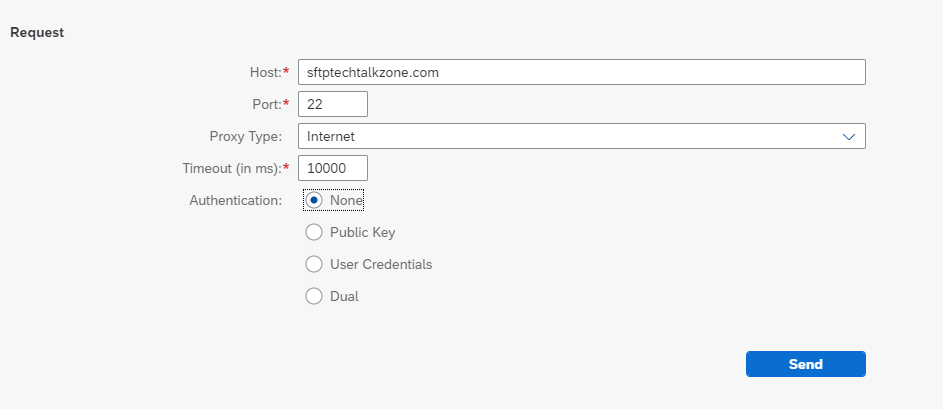
Enter your hostname, port (by default 22, and the authentication user Credential (select the credential defined above), and then click Send.
The SFTP server will respond with the message “Successfully reached host,” and it will generate the Host Key.
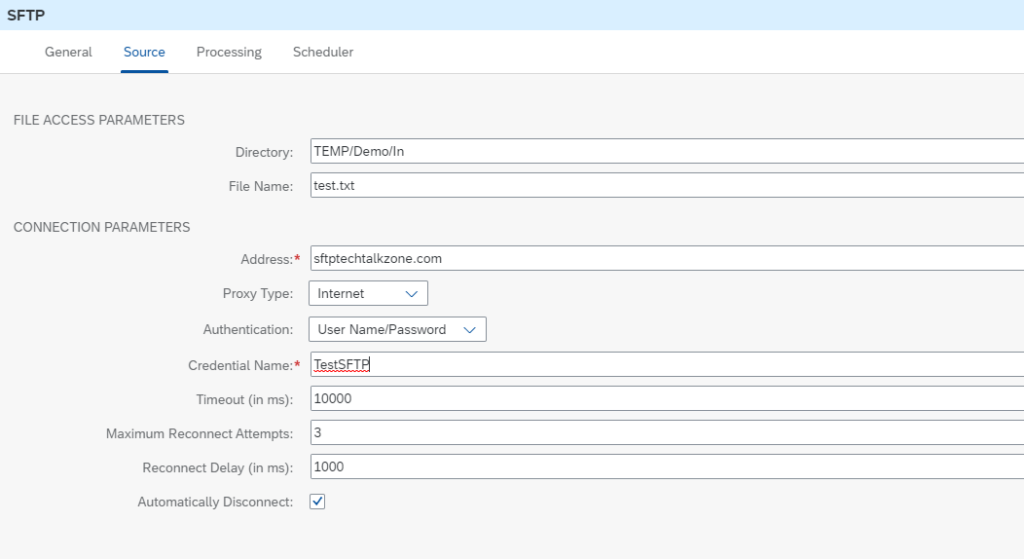
Source Configuration:
This is a sender SFTP channel configuration.
Fill in the source directory from where files will be picked and the filename as shown below.
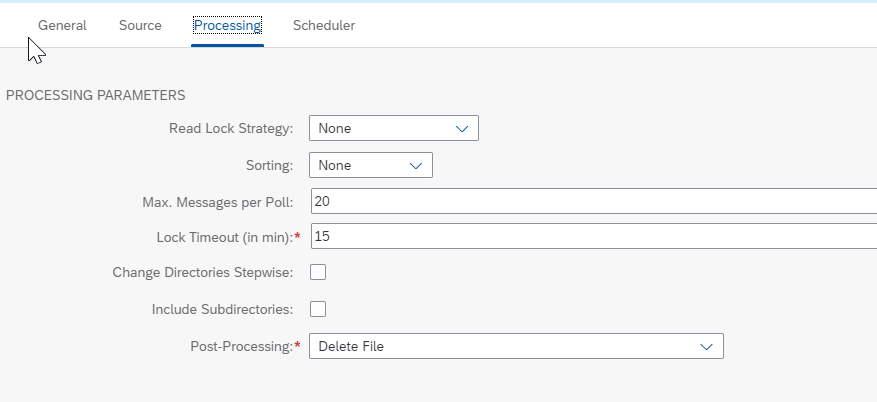
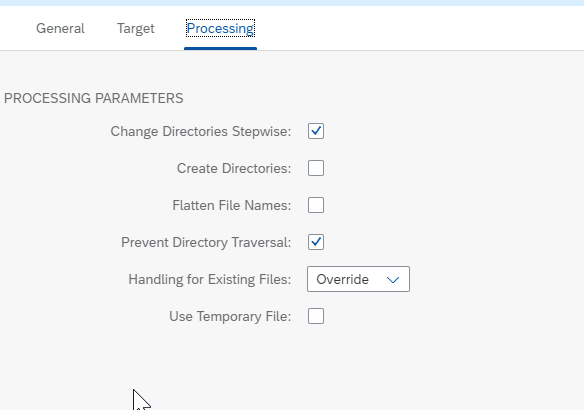
In the processing tab, we have selected delete the file after processing.
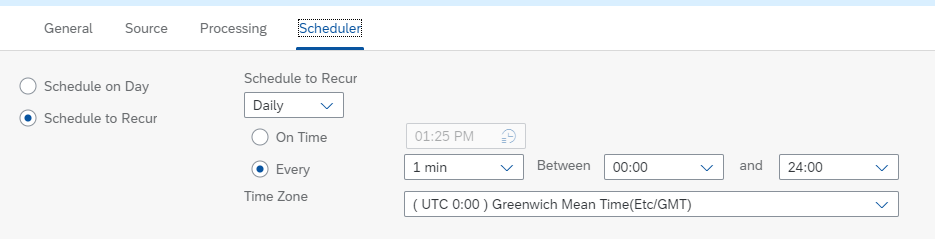
The scheduler tab is used for defining the frequency of polling.
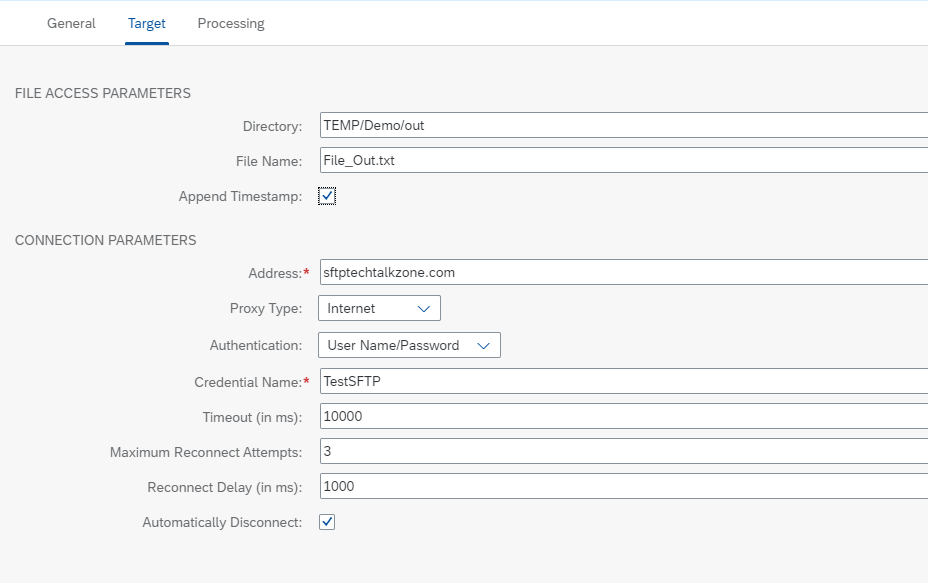
Receiver Communication Channel
Fill in the receiver details like directory and filename as shown below.
For dynamic configuration in the receiver SFTP adapter refer the blog Dynamic File Name in SAP CPI
All configuration has been completed. Save and deploy the iflow.
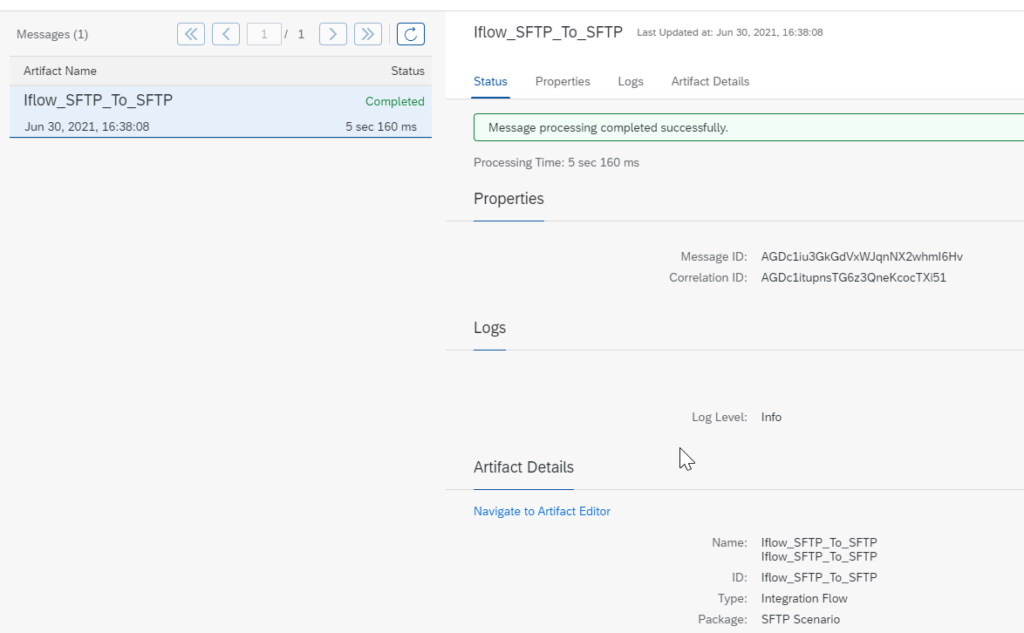
Testing.
Place the file in the source folder, and once the Iflow is successfully deployed, it will pick up the file and place it in the out folder.